| Photographic
Tips
I think you'll find these general tips useful as you pursue your
photographic endeavors. Most of the tips here are based not only
my experience, but the experience of other photographers in the
glamour field. This page is subject to revision, though, as I find
new and useful tips.
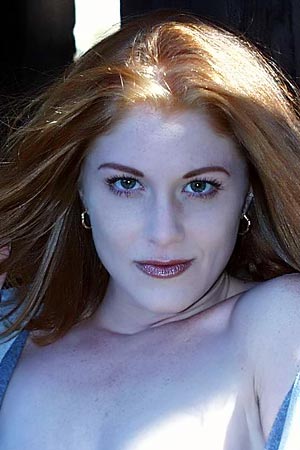
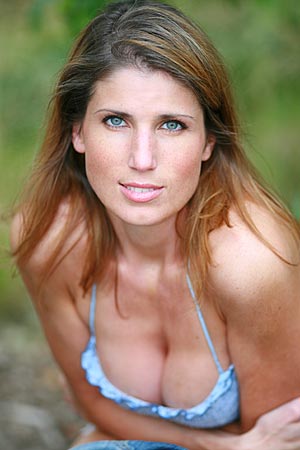
1. Focus on your subject's eyes - the eyes are the window to the
soul and the eyes simply need to be the sharpest part of the photo.
2. Simplify - include only the elements in the photo that are essential
to what you want the photograph to say.
3. Match your film or your white balance to the color of the light
you're using. For incandescent light (bulbs), use tungsten film
or tungsten white balance (for digital). For flash, use daylight
balance film or the flash white balance. If you don't know what
white balance is read your camera manual, which leads us to the
next tip. When shooting digital use a custom white balance for JPG files or better yet, shoot in the Raw format of your camera and adjust white balance in post processing.
4. Read your manual and understand all the controls on your camera.
The less you have to think about your camera the more you can concentrate
on your model or your subject.
5. If your camera allows you to set your shutter and aperture, use
a large aperture to create a shallow depth of field (range of focus)
to isolate your model from her or his surroundings. This will also
have the advantage of increasing your shutter speed which will
reduce the risk of camera shake causing your photo to seem blurry. With such shallow depth of field, however, be careful to select your focus point as to minimize recomposition after you focus. Recomposing may cause your subject to move outside of the zone of good focus.
6 . Use a simple uncluttered background if possible--and watch
the background carefully. Poles or trees that appear to stick out
of your model's head can be avoided by simply moving around and
changing your position. If necessary, use a long focal lenth and large aperture to throw the background out of focus to islolate your subject from the clutter.
7 . Use soft lighting to minimize minor imperfections in the skin.
Soft lighting mean a large light source - an inexpensive way to
do this is to hang a white sheet in front of your light source to
diffuse and soften it. Lighting doesn't have to be complicated,
but you can have fun playing with it.
8 . Don't mix your light sources - don't try to use tungsten lights
with light streaming through a window and a flash. Your photo colors
will be all over the place. It's okay to use flash and daylight
together (they are very close to the same color temperature).
9 . When shooting outside, avoid the middle of the day when the
sun is highest and brightest. This lighting is terrible for glamour
and will create high contrast images that exceed the capability
of your film or your digital sensor. Instead, try to shoot during
the golden hours - one hour after sunrise and one hour before sunset.
This is the time of magical light.
11 . If you must shoot outside during the bright part of the day,
shoot in open shade and use a flash. With Canon DSLR and Film cameras, when shooting in Av or Tv mode, the flash's output
will be automatically reduced and will "fill" in the shadows. Understand how your flash and camera work together to provide fill flash.
12. Use a tripod whenever possible to get the sharpest photos -
if you can't use a tripod, use a shutter speed greater than 1/focal length of your lens (multiply this by your camera's crop factor).
13. 100 ISO film speed or the 100 ISO setting on your digital camera
will give you the least grain and the lowest noise. The higher the
ISO the more the grain (film) or noise (digital).
14. Models, keep your arms slightly bent and raise your chin -
if you're not standing, also bend your knees slightly and point
your toes.
15. When post processing your photos in Photoshop or a similar program
- use the histogram to set your black and white points (use the
sliders), then use the Hue/Saturation command to adjust your colors,
and then use the Unsharp Mask to adjust your photos sharpness.
16. Experiment, experiment, experiment! This means playing with
the lighting, the poses, then textures, and all the other variables
in your photo. But, for the best learning, change only one thing
at a time.
There's so much more that can be said, but like any other avocation,
photography requires study and practice. You don't need a degree
in optics to make a good photograph, but it does help to understand
the basics of exposure, composition and lighting. A wonderful resource
for anyone wanting to learn more about photography is: Photography-on-the-Net,
a free site chock full of information, tutorials, and discussion
forums. This is my favorite forum and my photographic home on the net.
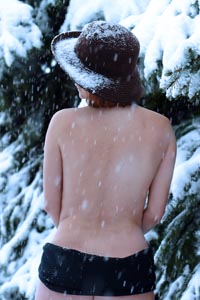
Finally, take advantage of new and unusual circumstances. Practice
seeing photographic possibilities in different situations. Yesterday
there was a snow storm where I live. Instead of staying inside all
day, I wrapped my camera in a plastic bag and got out to take some
photos in the snow.
|